
Last updated: August 12, 2026
Last updated: August 2026. This post contains affiliate links — if you buy through them I earn a small commission at no extra cost to you. Full disclosure.
We have lit wood-fired pizza ovens hundreds of times across several different models. In our experience the lighting process is simpler than it looks, and most problems come down to wood moisture rather than technique.
This how to light a wood fired pizza oven covers exactly what you need to know, based on real use.
Lighting a wood-fired pizza oven is not difficult, but it is different from lighting a BBQ or a fireplace. The goal is not just to get a fire burning — it is to build a fire that will saturate a thick cordierite stone with enough heat to cook a Neapolitan pizza in 60 to 90 seconds. That takes a specific approach and some patience.
This guide covers the full process from cold oven to cooking temperature, including what wood to use, how to build the fire, and how to manage it once it’s going. For more on fuel choices, see our full guide on what wood to use in a pizza oven.

What you need before you start
| Oven | Fuel Type | Notes |
|---|---|---|
| Ooni Karu 2 | Wood, charcoal, or gas | Fire basket at back — start with wood chips, then switch to small logs |
| Gozney Roccbox | Gas (wood burner attachment sold separately) | Wood burner needs very dry small logs; gas is easier for beginners |
| Larger wood-fired ovens | Logs | Build fire in centre first, then move to side once established |
Before you light the oven, make sure you have the following to hand:
- Kiln-dried hardwood logs (oak, beech, or ash) — softwood produces too much smoke and burns too fast
- Natural firelighters or a firelighter block — avoid anything with chemical accelerants, which affect flavor
- Kindling — small, dry sticks around finger-width
- Long matches or a long-handled lighter
- An infrared thermometer — essential for knowing when the stone is ready
Keep a small stack of logs nearby. You will be adding fuel throughout the preheat, so running back and forth to a log pile gets old quickly.
Step-by-step: lighting your wood-fired pizza oven
Step 1: Position the oven correctly
Set up your oven on a stable, heat-resistant surface before you start. A dedicated pizza oven table is ideal. Make sure the oven is away from anything flammable, the mouth is not pointing into wind, and you have clear space around it. Portable ovens like the Ooni Karu 2 and Gozney Roccbox get very hot on their outer surfaces, so keep children and pets at a safe distance.
Step 2: Build a small fire in the center of the oven
Place a natural firelighter in the center of the pizza stone (or just behind the center, towards the back of the oven). Stack kindling around and over the firelighter in a loose pyramid — you want airflow, so don’t pack it tight. Leave room for oxygen to circulate. Light the firelighter and let the kindling catch before adding anything larger.
Some ovens — like the Ooni Karu 2 — have a wood chip tray that sits over the fire basket. Start with smaller fuel in the basket and build up. Always follow the specific instructions for your oven, as the basket design varies between models.
Step 3: Add small logs once the kindling is going
Once you have a solid flame from the kindling — usually 3 to 5 minutes — add one or two small logs. At this stage keep them thin: around 5cm in diameter. Thick logs added too early smother a new fire and cause it to die back. Let each addition catch properly before adding more.
The fire should be burning with a clear, active flame — not smouldering. White or grey smoke is normal at first; black smoke means something is not burning properly, usually because the wood is damp or the fire is oxygen-starved. Open the oven door slightly if it has one, or adjust the chimney cap on models that have one.
Step 4: Push the fire to one side
Once the fire is established — typically after 10 to 15 minutes — push it to one side of the oven. This frees up the stone surface for cooking. In smaller ovens like the Karu 2, the fire basket sits at the back and this happens naturally. In larger ovens, use a long-handled poker or the back of a peel to move the burning logs to one side.
Keep the fire burning actively throughout the preheat. Add a small log every 10 to 15 minutes to maintain the flame. A dying fire means a cooling stone, and a cooling stone means undercooked bases.
Step 5: Preheat to temperature
Most portable wood-fired ovens need 30 to 45 minutes of active burning to fully saturate the stone with heat. The air temperature inside the oven may read 750°F long before the stone reaches that temperature — always measure the stone directly with an infrared thermometer, not the air.
For Neapolitan-style pizza: aim for 400 to 810°F on the stone. For a crispier, slower cook (New York style): 300 to 660°F. See our full guide on how long to preheat a pizza oven for more detail on temperature targets.
Step 6: Cook
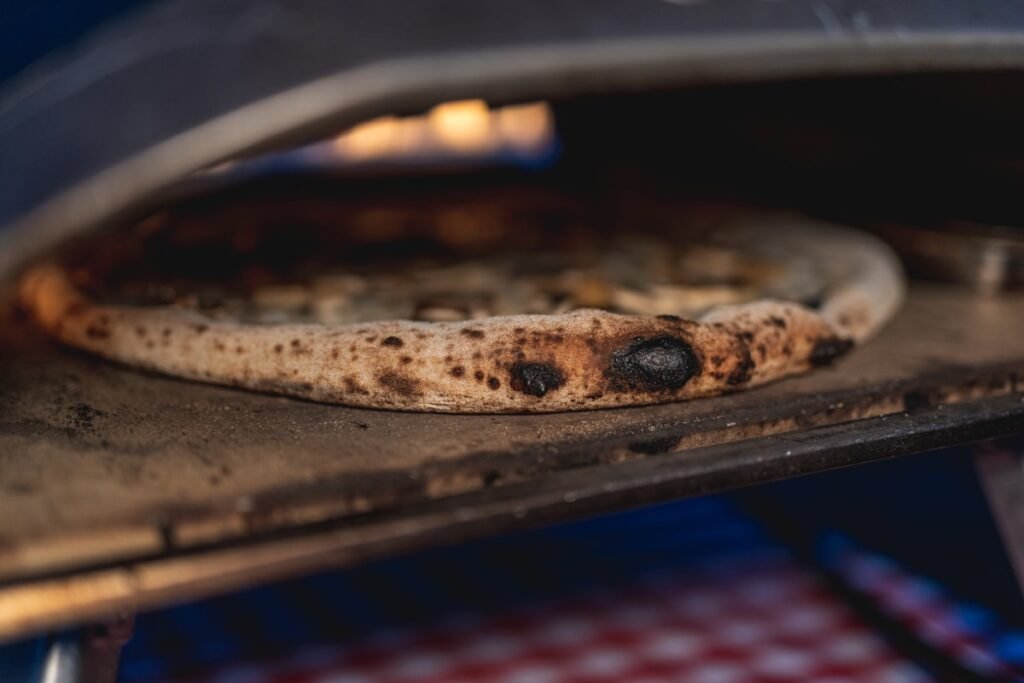
Once the stone is at temperature, you’re ready to cook. Add a small piece of wood just before each pizza to keep the flame lively — a bright, active flame circulates heat over the top of the pizza and creates the characteristic char on the crust. A dying fire at cook time means pale tops and no leopard spotting on the cornicione.
Rotate each pizza every 20 to 30 seconds with a turning peel so it cooks evenly on all sides.
Lighting tips by oven type
Common problems
What wood should I use?
Kiln-dried hardwood is the answer in almost every case. Oak, beech, and ash all burn hot and clean with minimal smoke. Avoid softwoods like pine or spruce — they burn fast, produce a lot of resin-heavy smoke, and don’t sustain high temperatures as well. See our full guide on what wood to use in a pizza oven, including a look at the best wood pellets if your oven supports them.
Once you’re cooking, have your pizza dough balled and at room temperature, your toppings prepped, and your peel dusted with semolina. Everything moves fast once the oven is at temperature.
After cooking, brush the stone clean while it’s still hot. See our guide on how to clean a pizza stone properly.
Recommended: kiln-dried wood – available on Amazon US.
Gear mentioned in this article (paid links)

About Ian Armstrong
I'm Ian Armstrong, a home cook and pizza oven obsessive based in the UK. Over the past four years I've owned and cooked on a Gozney Roccbox, Ooni Karu, Ooni Koda, and Gozney Arc — putting each one through real-world use in my back garden across all seasons, not just ideal summer conditions. I test dough hydration, preheat times, fuel efficiency, and how each oven handles everything from Neapolitan pizza to sourdough bread and Sunday roasts. Everything on Wood Fired Pizza Gear comes from hands-on experience. No sponsored placements, no guesswork — just honest assessments from someone who's burned a lot of dough getting it wrong so you don't have to.