
Last updated: August 12, 2026
Last updated: August 2026. This post contains affiliate links — if you buy through them I earn a small commission at no extra cost to you. Full disclosure.
We stretch pizza dough by hand every cook session. In our experience the technique is learnable in a single afternoon if you know what to look for.
We’ve stretched a lot of dough over a lot of sessions. The technique takes practice, but these are the specific things we’ve found make the biggest difference between a good base and a torn one.
We’ve stretched a lot of dough. The technique takes some practice but these are the specific things we’ve found make the biggest difference.
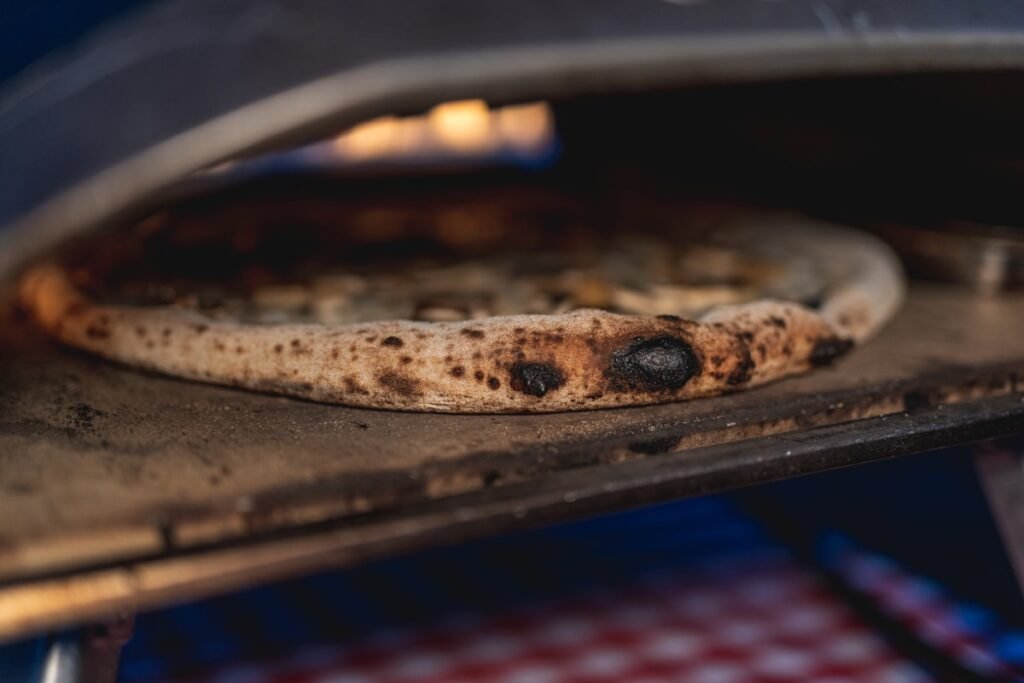
Stretching pizza dough by hand is the one skill that separates a good home pizza from a great one. Rolling pins squash out all the air bubbles that the long fermentation created, and they make the dough tough. Hand-stretching keeps the crust light, creates the puffed cornicione, and gives you that slightly uneven, charred edge that no rolling pin can replicate.
It looks harder than it is. After two or three attempts it becomes second nature. This guide covers the full technique, the common mistakes, and how to rescue dough that is tearing on you.

Before you start: dough temperature matters
Cold dough is tight and elastic — it fights back when you try to stretch it and tears easily. Room-temperature dough is relaxed, pliable, and stretches smoothly. Always take your dough balls out of the fridge at least 2 hours before stretching, ideally 3. If you try to stretch cold dough, you are making the job much harder than it needs to be.
The dough should feel soft and pillowy, with visible bubbles just under the surface. If it still feels firm and springy after 2 hours at room temperature, give it another 30 to 60 minutes.
How to stretch pizza dough: step by step
Step 1: Prepare your surface
Dust your work surface generously with flour or semolina. Semolina gives a slightly crunchier texture to the base and stops sticking better than flour alone — see our guide on semolina vs flour on the peel for more on this. Place your dough ball on the dusted surface and press it down gently with your fingertips to flatten it slightly before you start.
Step 2: Press from the center outward
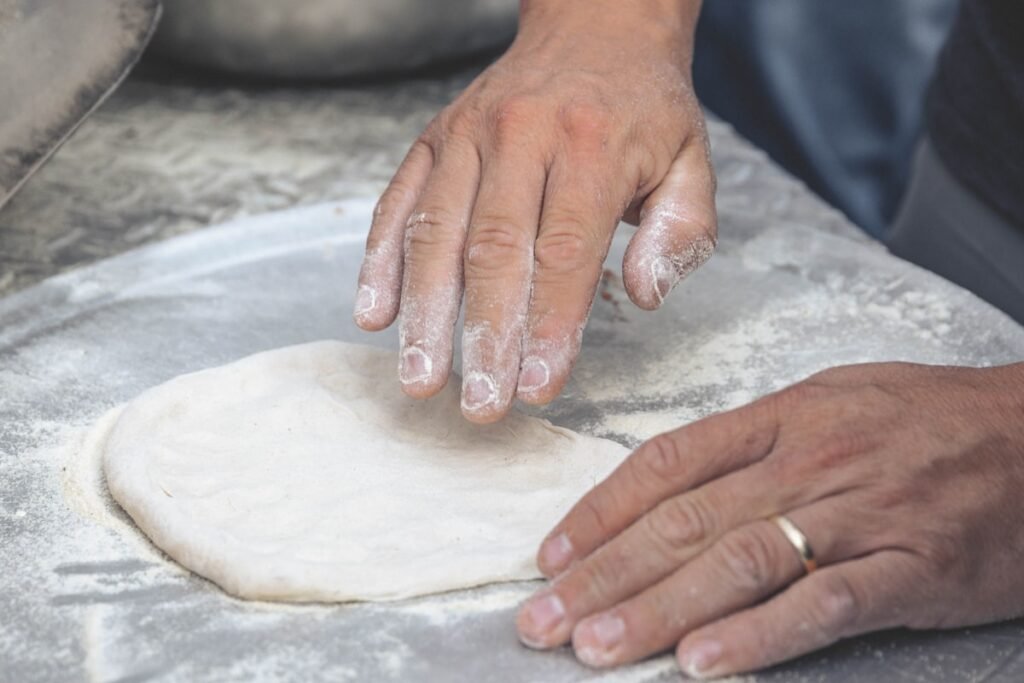
Using your fingertips (not your palm), press down on the center of the dough ball and push outward toward the edge. Rotate the dough 90 degrees and repeat. Work around the whole circle, always pressing from inside to outside. Leave a thick border of about 2cm around the edge — this becomes the crust. Never press down on the crust border itself, or you’ll flatten the air out of it.
At this point you should have a rough disc about 20cm across. It does not need to be perfectly round yet — that comes in the next step.
Step 3: Stretch over your knuckles
Drape the dough over the backs of both hands, keeping your knuckles pointing upward. Let gravity do most of the work — the weight of the dough will pull it downward and stretch it. Gently move your hands apart and rotate the dough slowly, allowing it to stretch evenly in all directions.
Do not grip the dough with your fingers — just rest it on your knuckles and move your hands. The stretching should feel effortless. If you have to pull hard, the dough is either too cold or not proved enough.
Step 4: Finish on the work surface
Once the dough is close to the right size, lay it back on the floured surface and use your fingertips to even out any thick spots. Hold the edge of the dough with one hand and gently pull outward with the other to stretch any areas that need it. Rotate and repeat.
You are aiming for an even thickness of about 3 to 4mm across the base, with that thicker puffed crust around the outside. The dough will not be perfectly circular — and that is fine. Slightly irregular shapes are part of the charm of handmade pizza.
Step 5: Transfer to the peel and top immediately
Slide the stretched dough onto a well-dusted pizza peel and top it straight away. The longer it sits on the peel, the more likely it is to stick. Sauce, cheese, toppings — done in under 60 seconds, then launch. Give the peel a gentle shake before launching to make sure nothing has stuck. If it sticks, act fast — see our guide on why pizza dough sticks to the peel.
Common problems and how to fix them
| Problem | Cause | Fix |
|---|---|---|
| Dough keeps springing back | Too cold, or not proved enough | Rest at room temp for another 30-60 mins |
| Dough tears when stretching | Stretched too aggressively, or gluten underdeveloped | Rest the dough 5 mins and try again more gently |
| Edges much thicker than center | Not stretching the middle enough | Focus knuckle-stretching on the center, not the edges |
| Can’t get it round | Normal — takes practice | Use fingertips to pull out any irregular thick spots |
| Dough too thin and fragile | Over-stretched, or too high hydration for your skill level | Stop earlier, work with a slightly less wet dough next time |
The windowpane test
Once you have stretched the dough, hold a section up to the light. You should be able to see light through it without it tearing — thin but intact. This is the “windowpane” that indicates a well-developed, properly proved dough. If it tears immediately when held up to the light, the base will be too thick to cook quickly and may not char properly in the oven.
Do not use a rolling pin
It bears repeating: do not use a rolling pin. Rolling pins degas the dough — they press out all the carbon dioxide bubbles created during fermentation, leaving you with a flat, dense, cracker-like base with no texture. The whole point of the long cold fermentation in our dough recipe is to develop those bubbles. Hand-stretching preserves them. The difference in the finished crust is significant.
Once you can stretch consistently, the next step is a fast, hot cook. See our guide on how long to preheat a pizza oven to make sure the stone is at the right temperature before you launch, and our pizza sauce recipe to complete the setup.
Recommended: Caputo 00 flour – available on Amazon US.
Gear mentioned in this article (paid links)

About Ian Armstrong
I'm Ian Armstrong, a home cook and pizza oven obsessive based in the UK. Over the past four years I've owned and cooked on a Gozney Roccbox, Ooni Karu, Ooni Koda, and Gozney Arc — putting each one through real-world use in my back garden across all seasons, not just ideal summer conditions. I test dough hydration, preheat times, fuel efficiency, and how each oven handles everything from Neapolitan pizza to sourdough bread and Sunday roasts. Everything on Wood Fired Pizza Gear comes from hands-on experience. No sponsored placements, no guesswork — just honest assessments from someone who's burned a lot of dough getting it wrong so you don't have to.